en-us

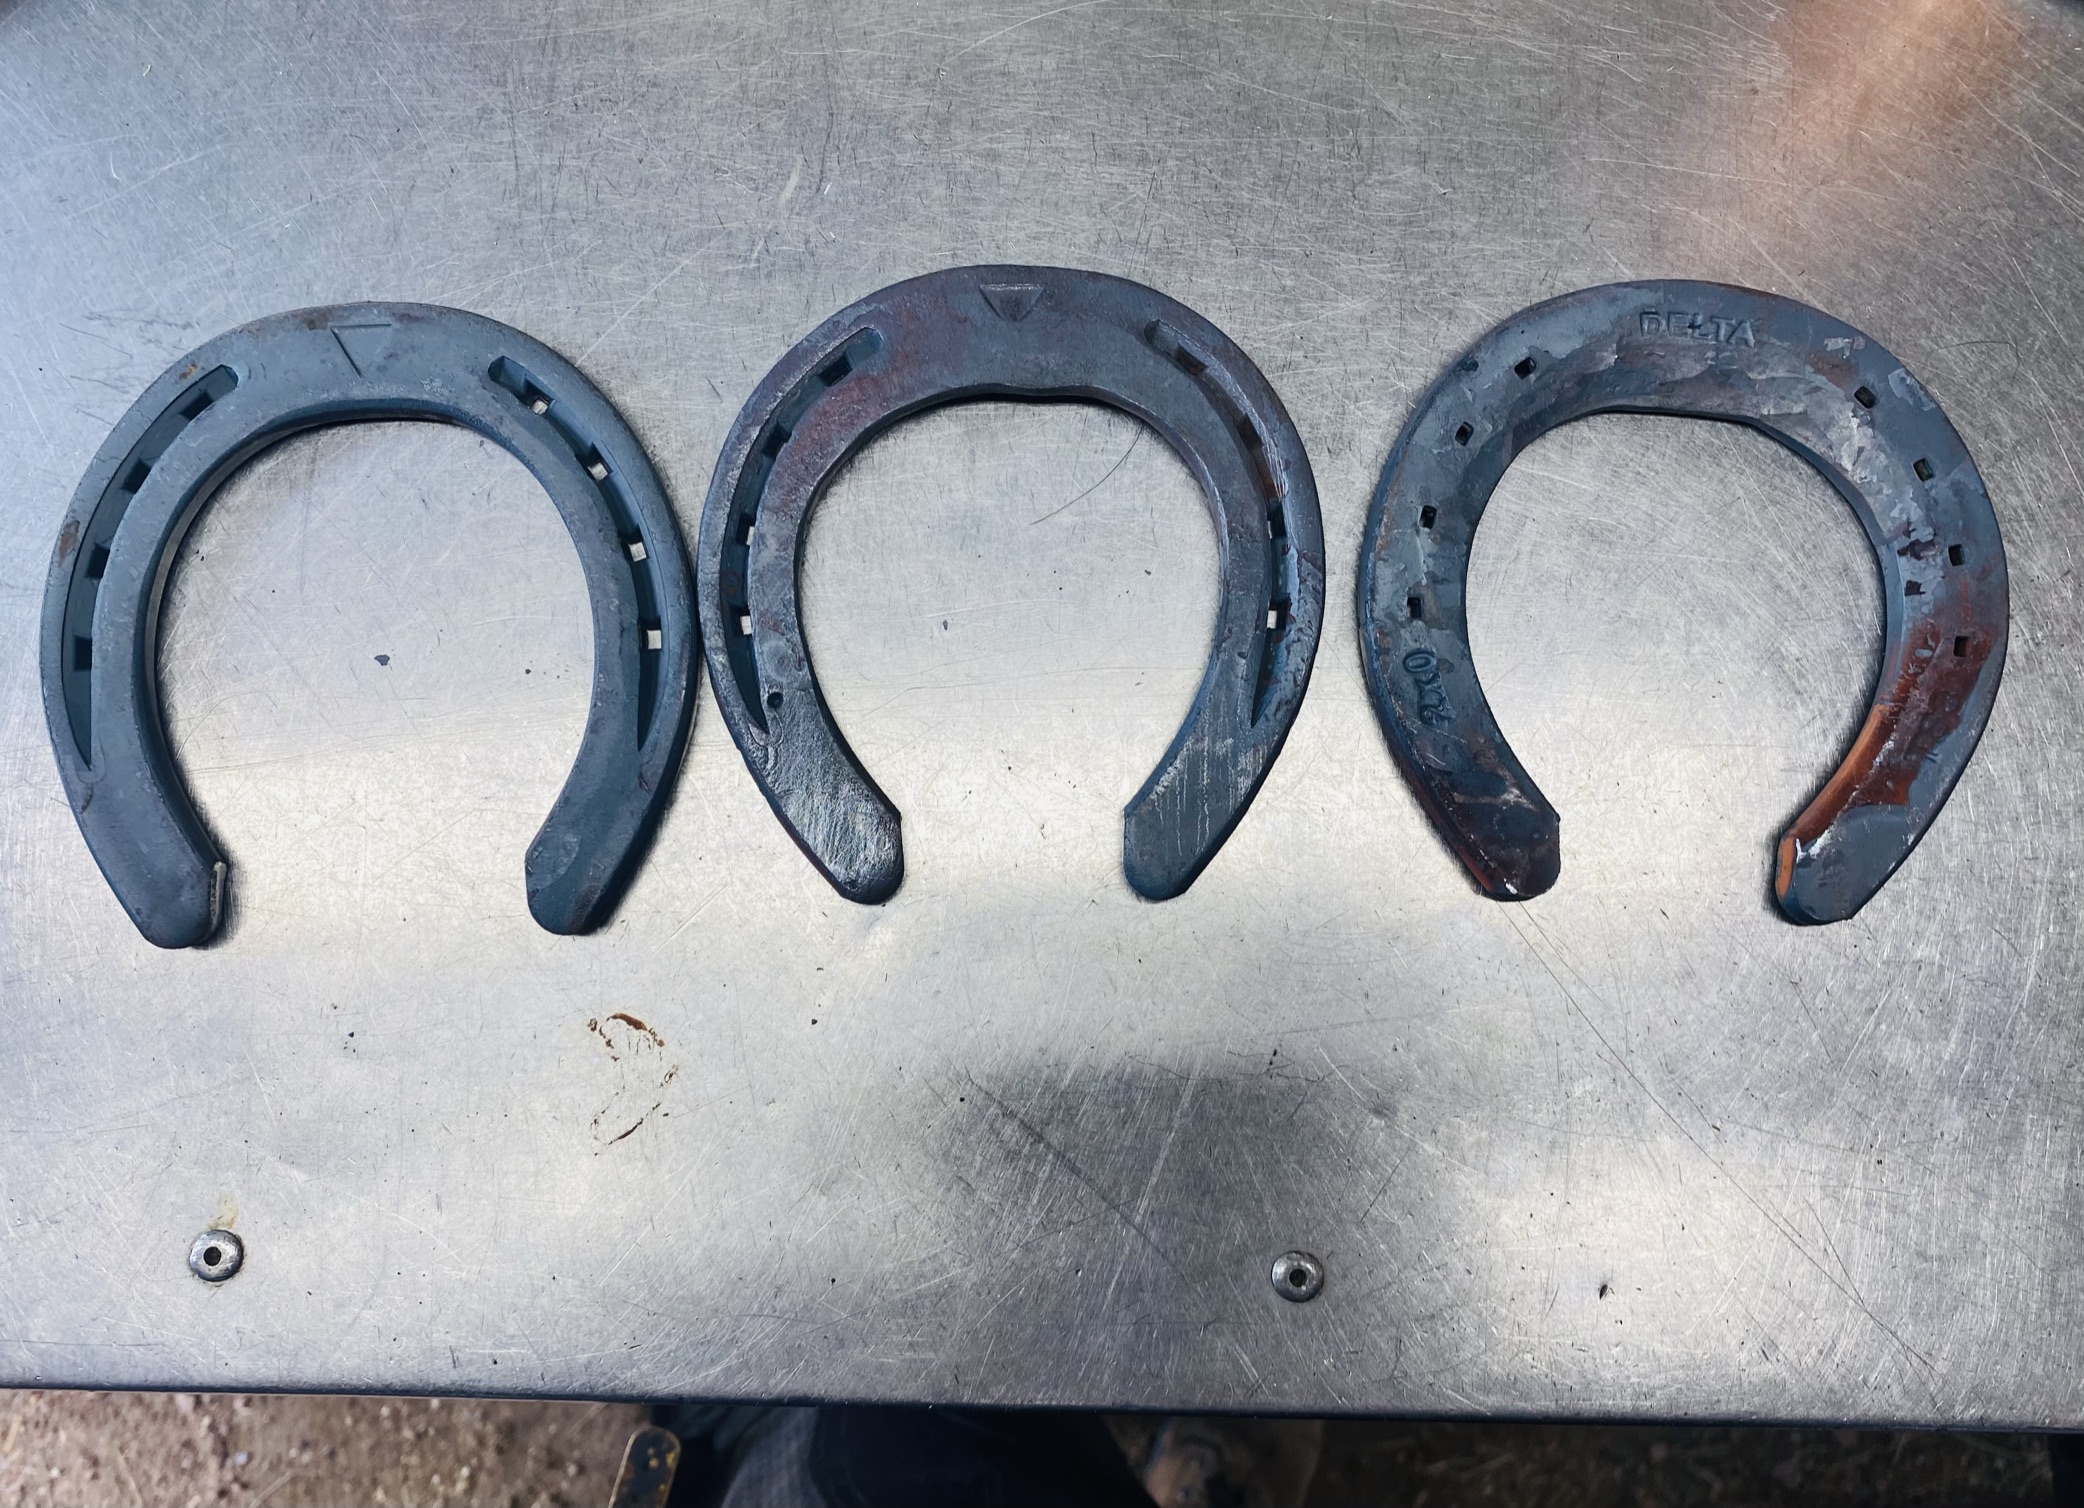
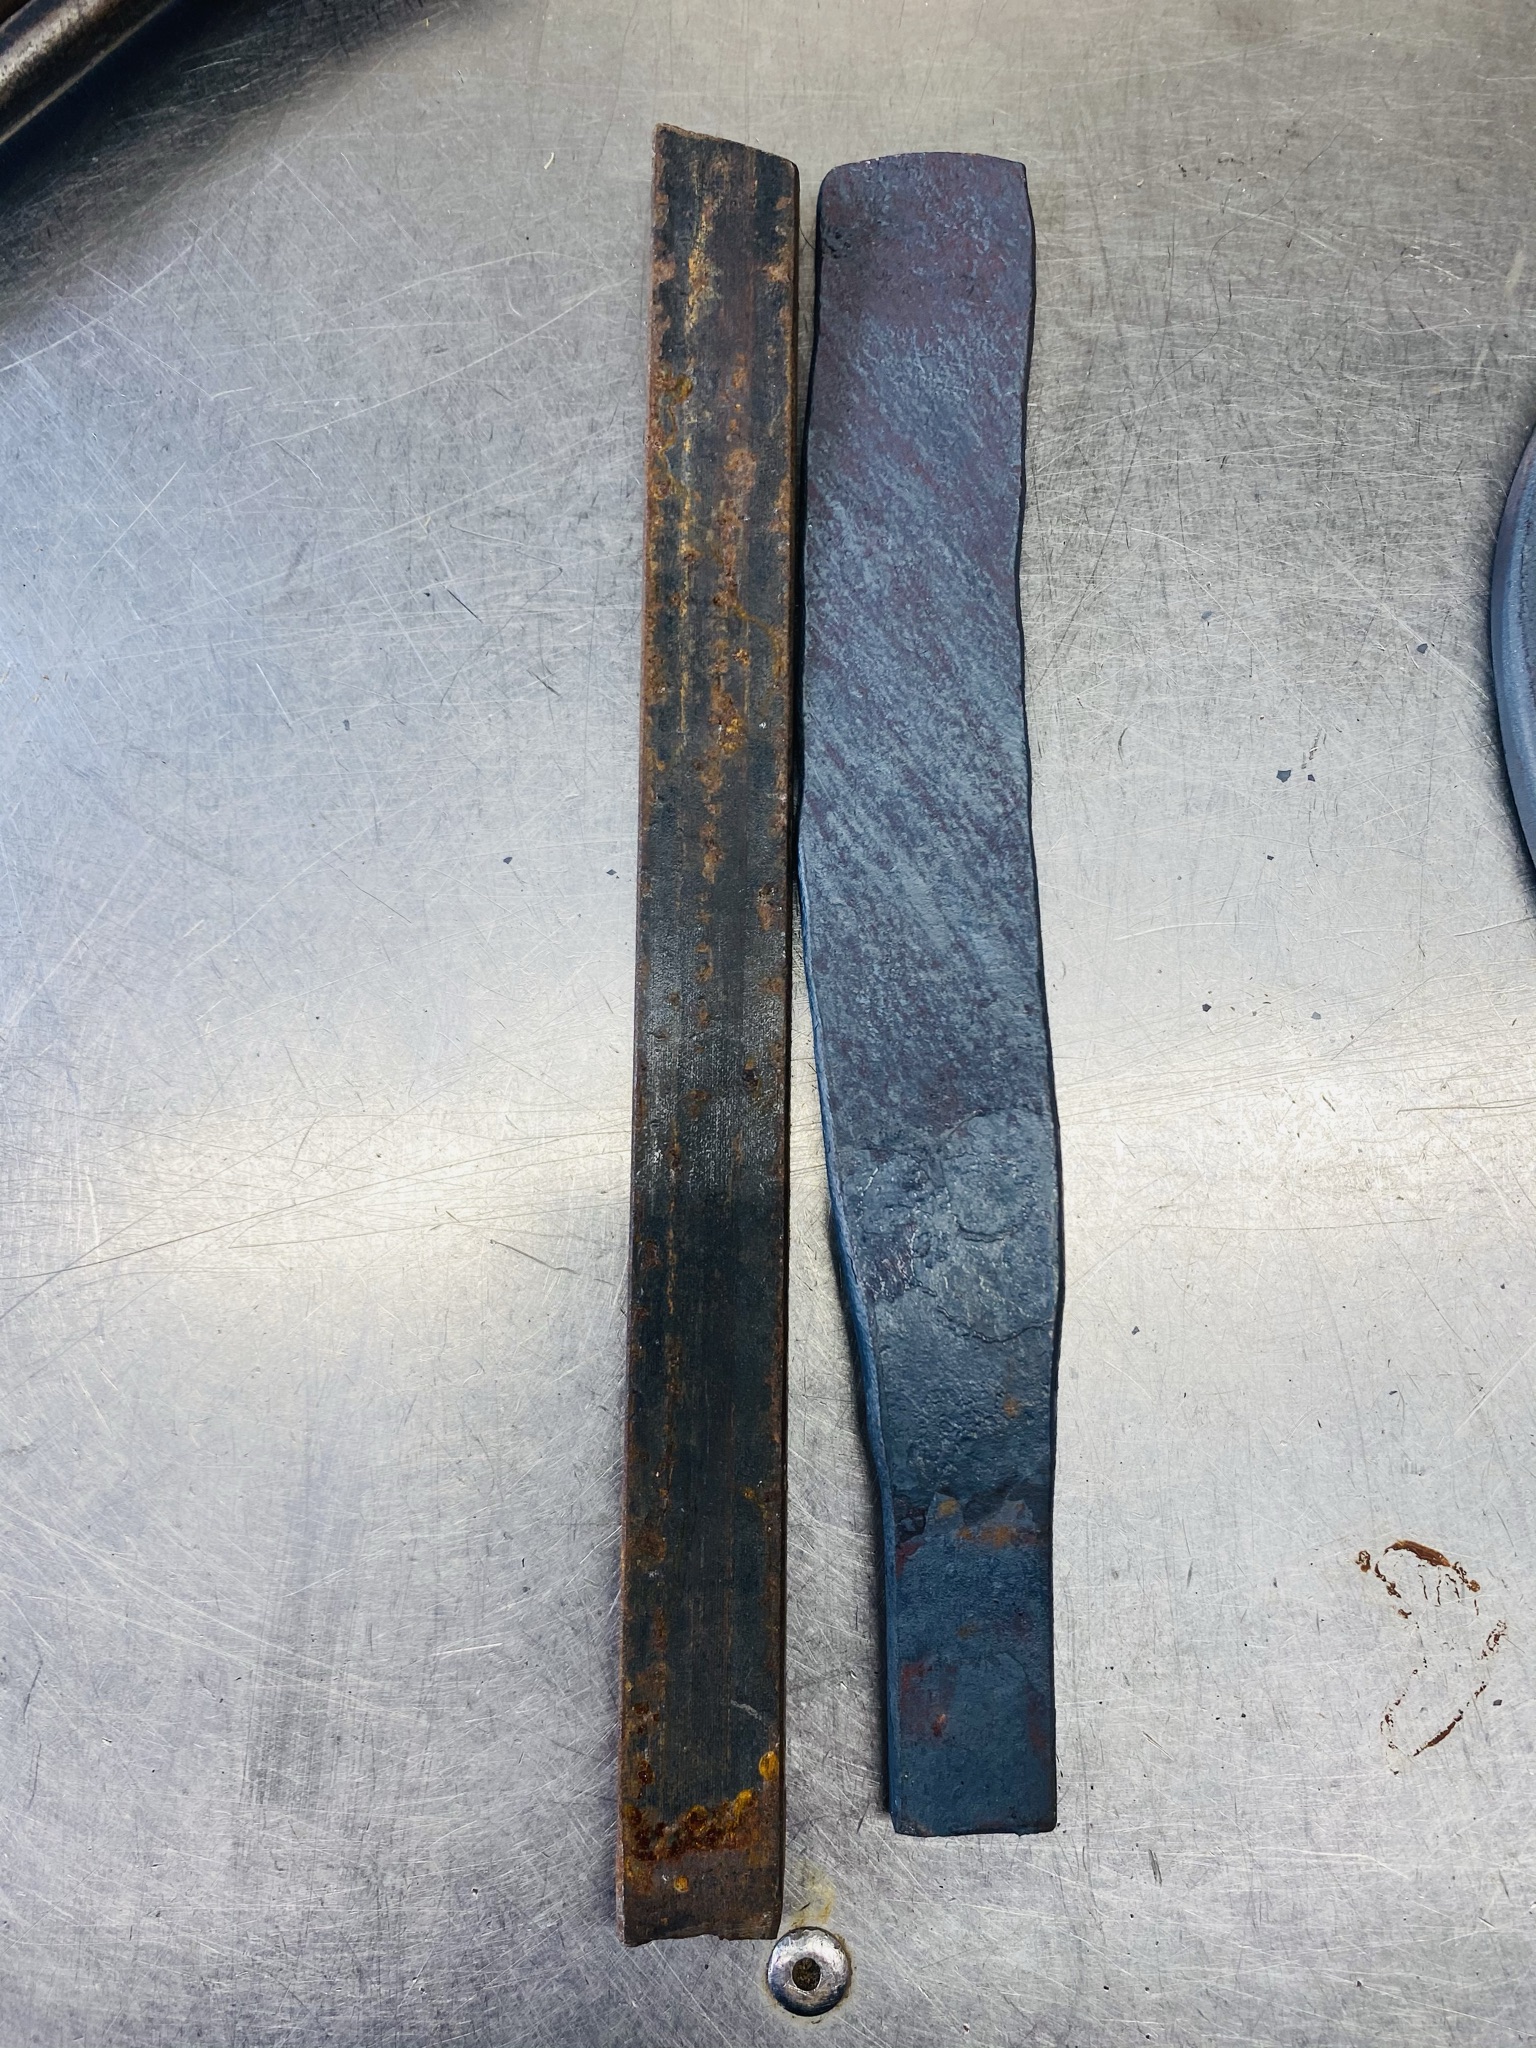
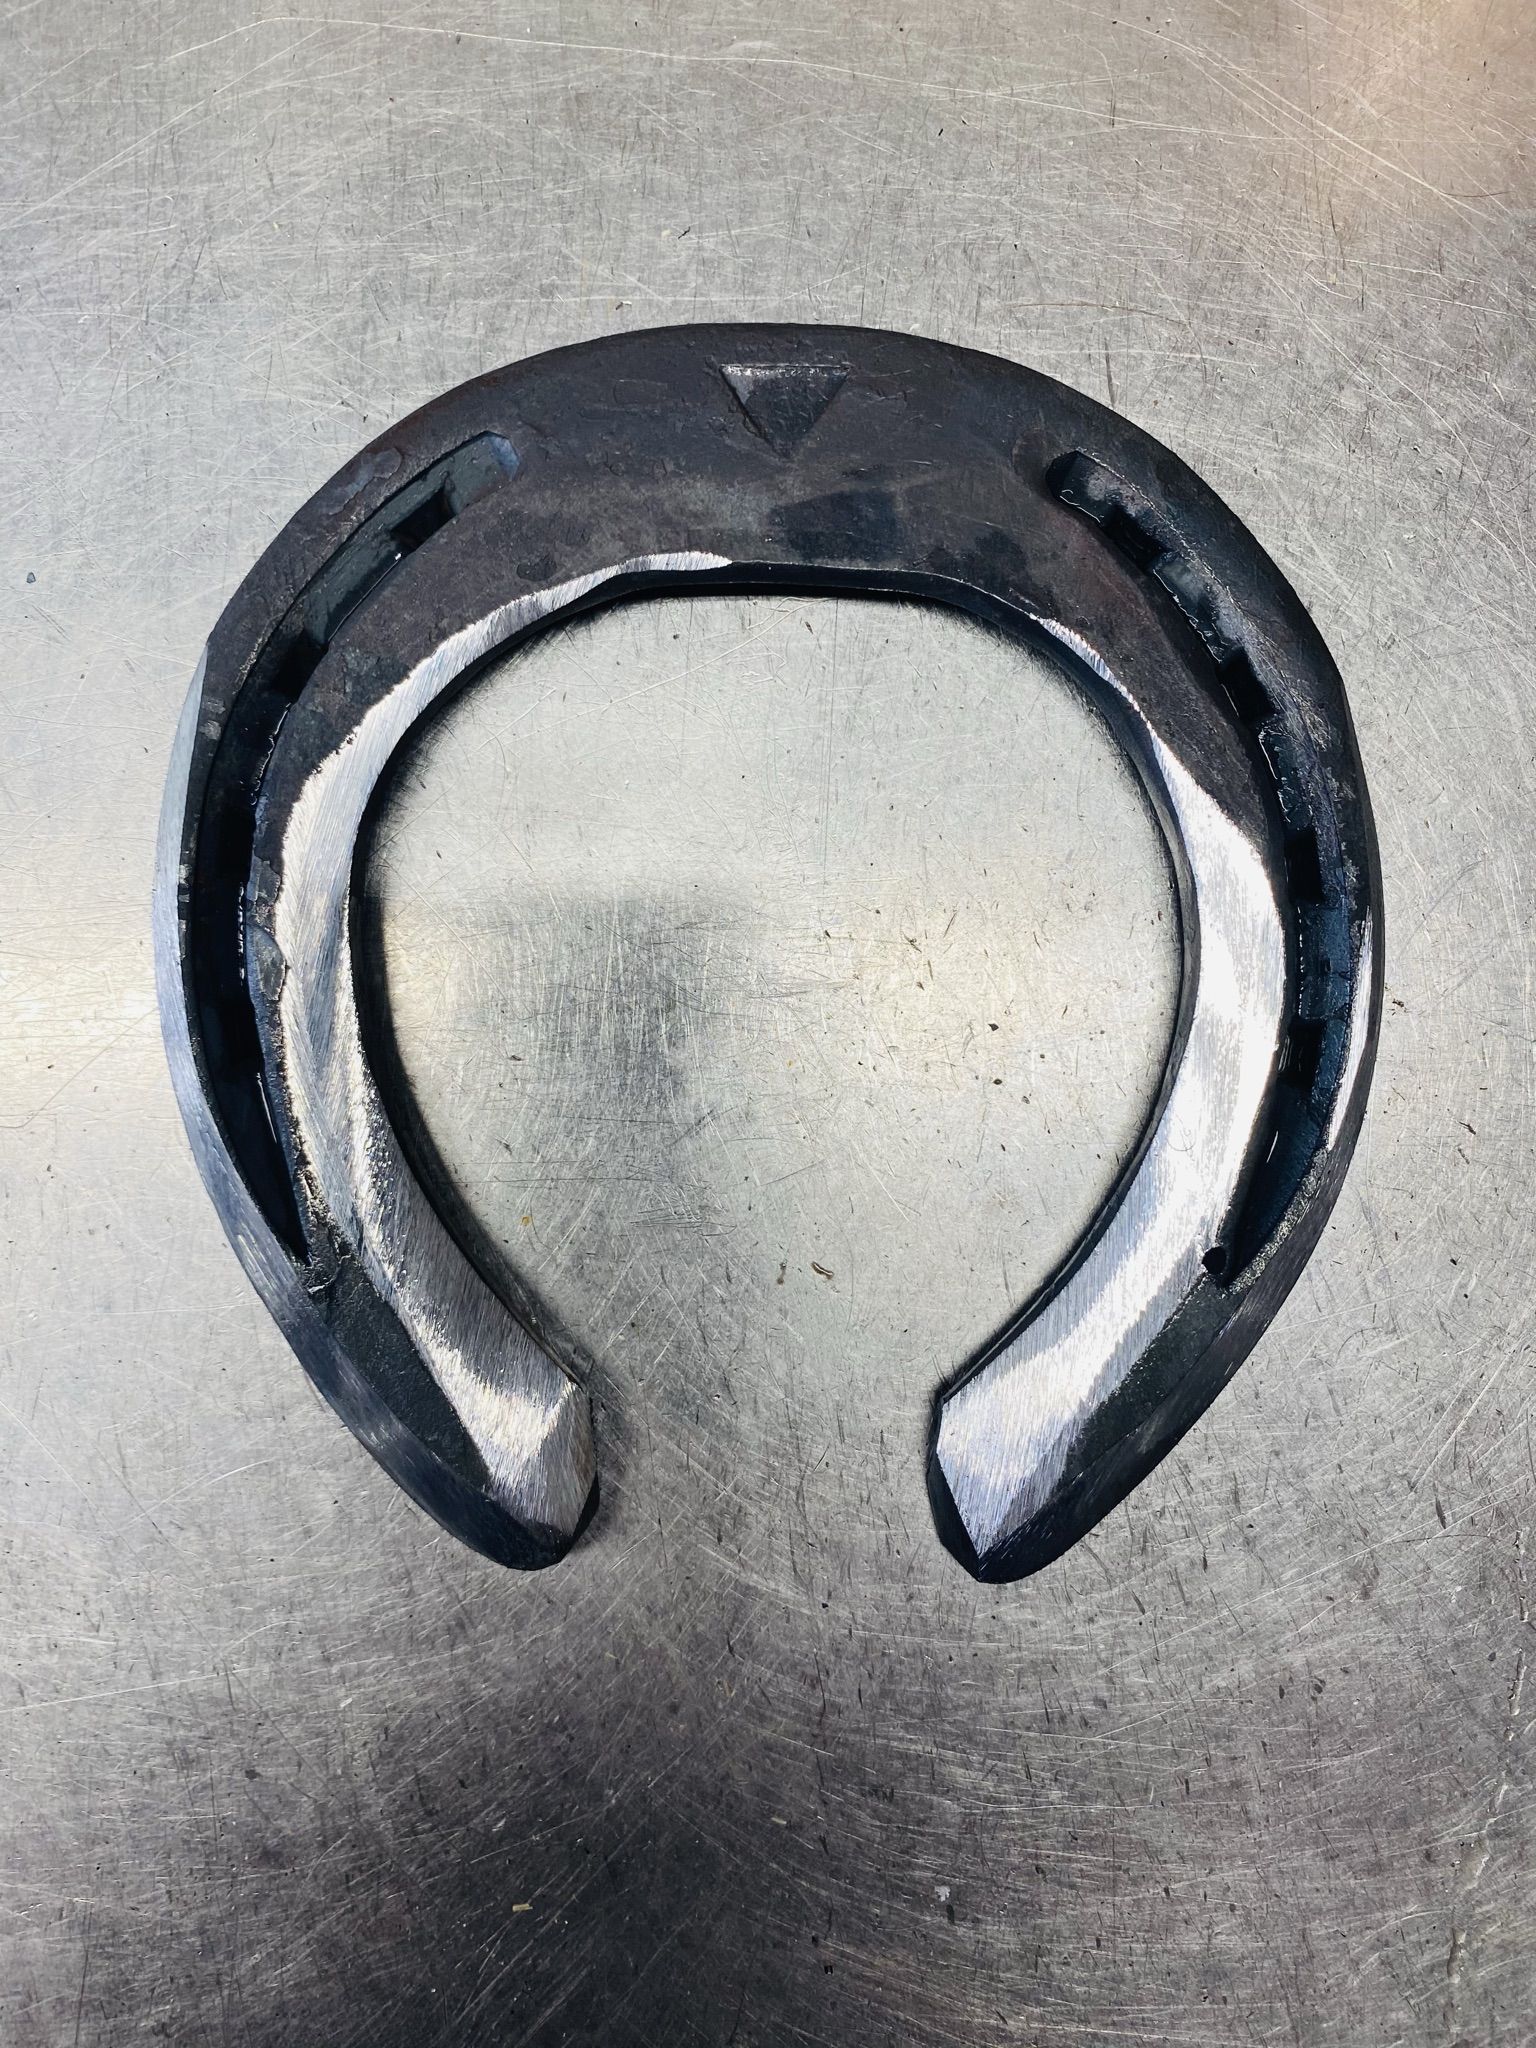
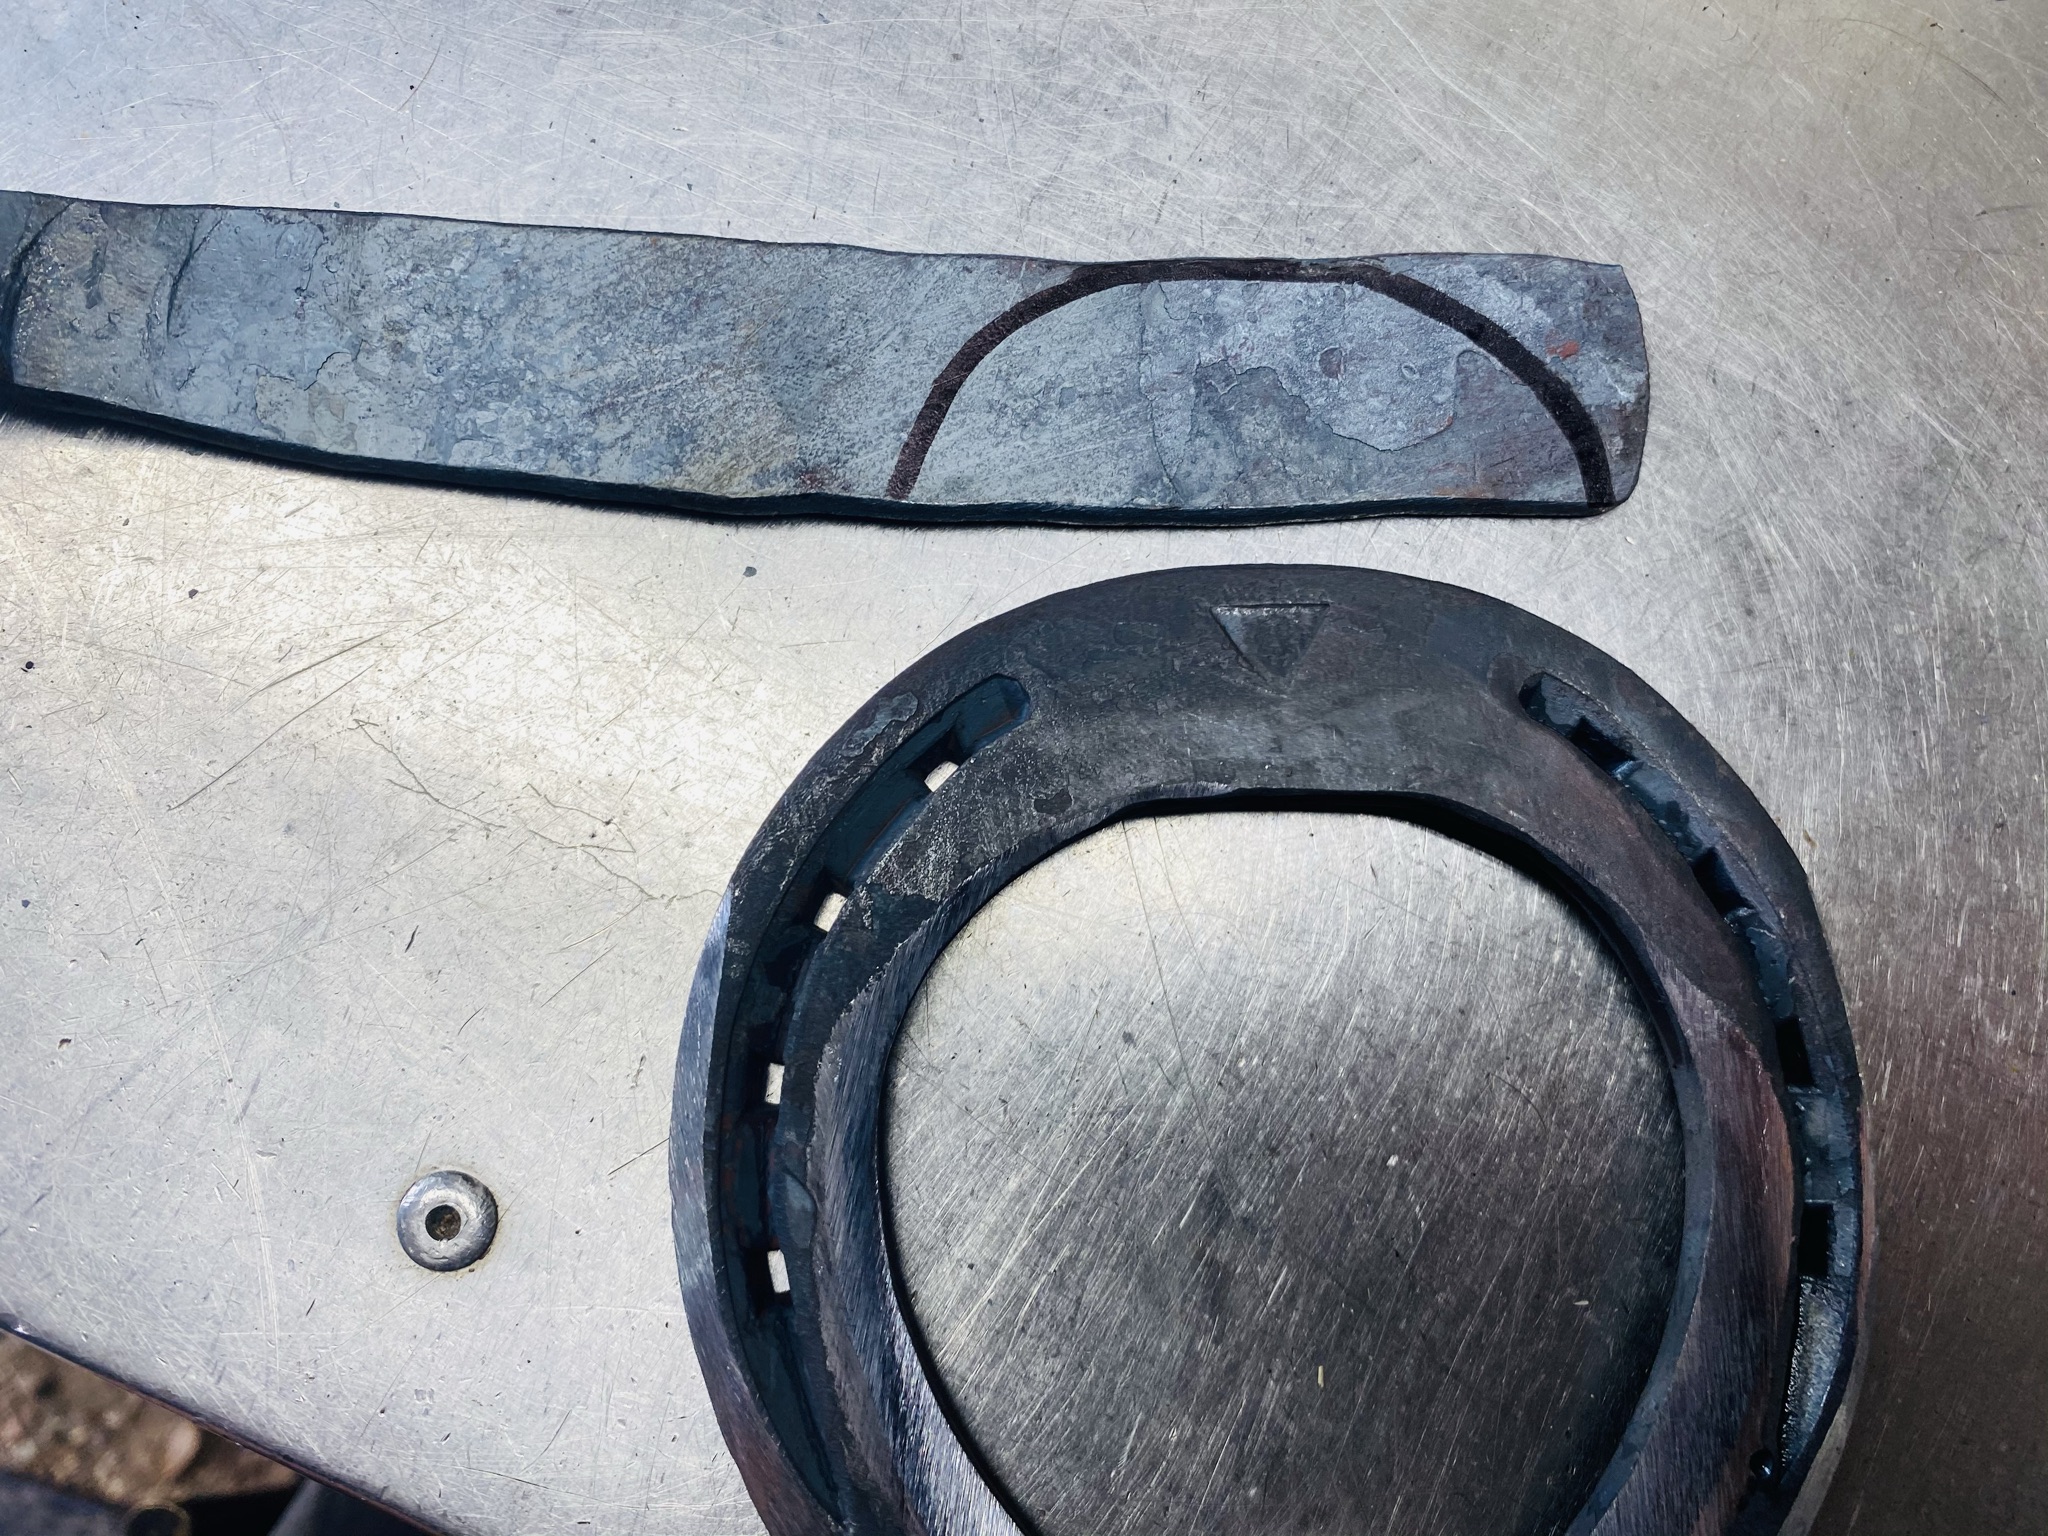
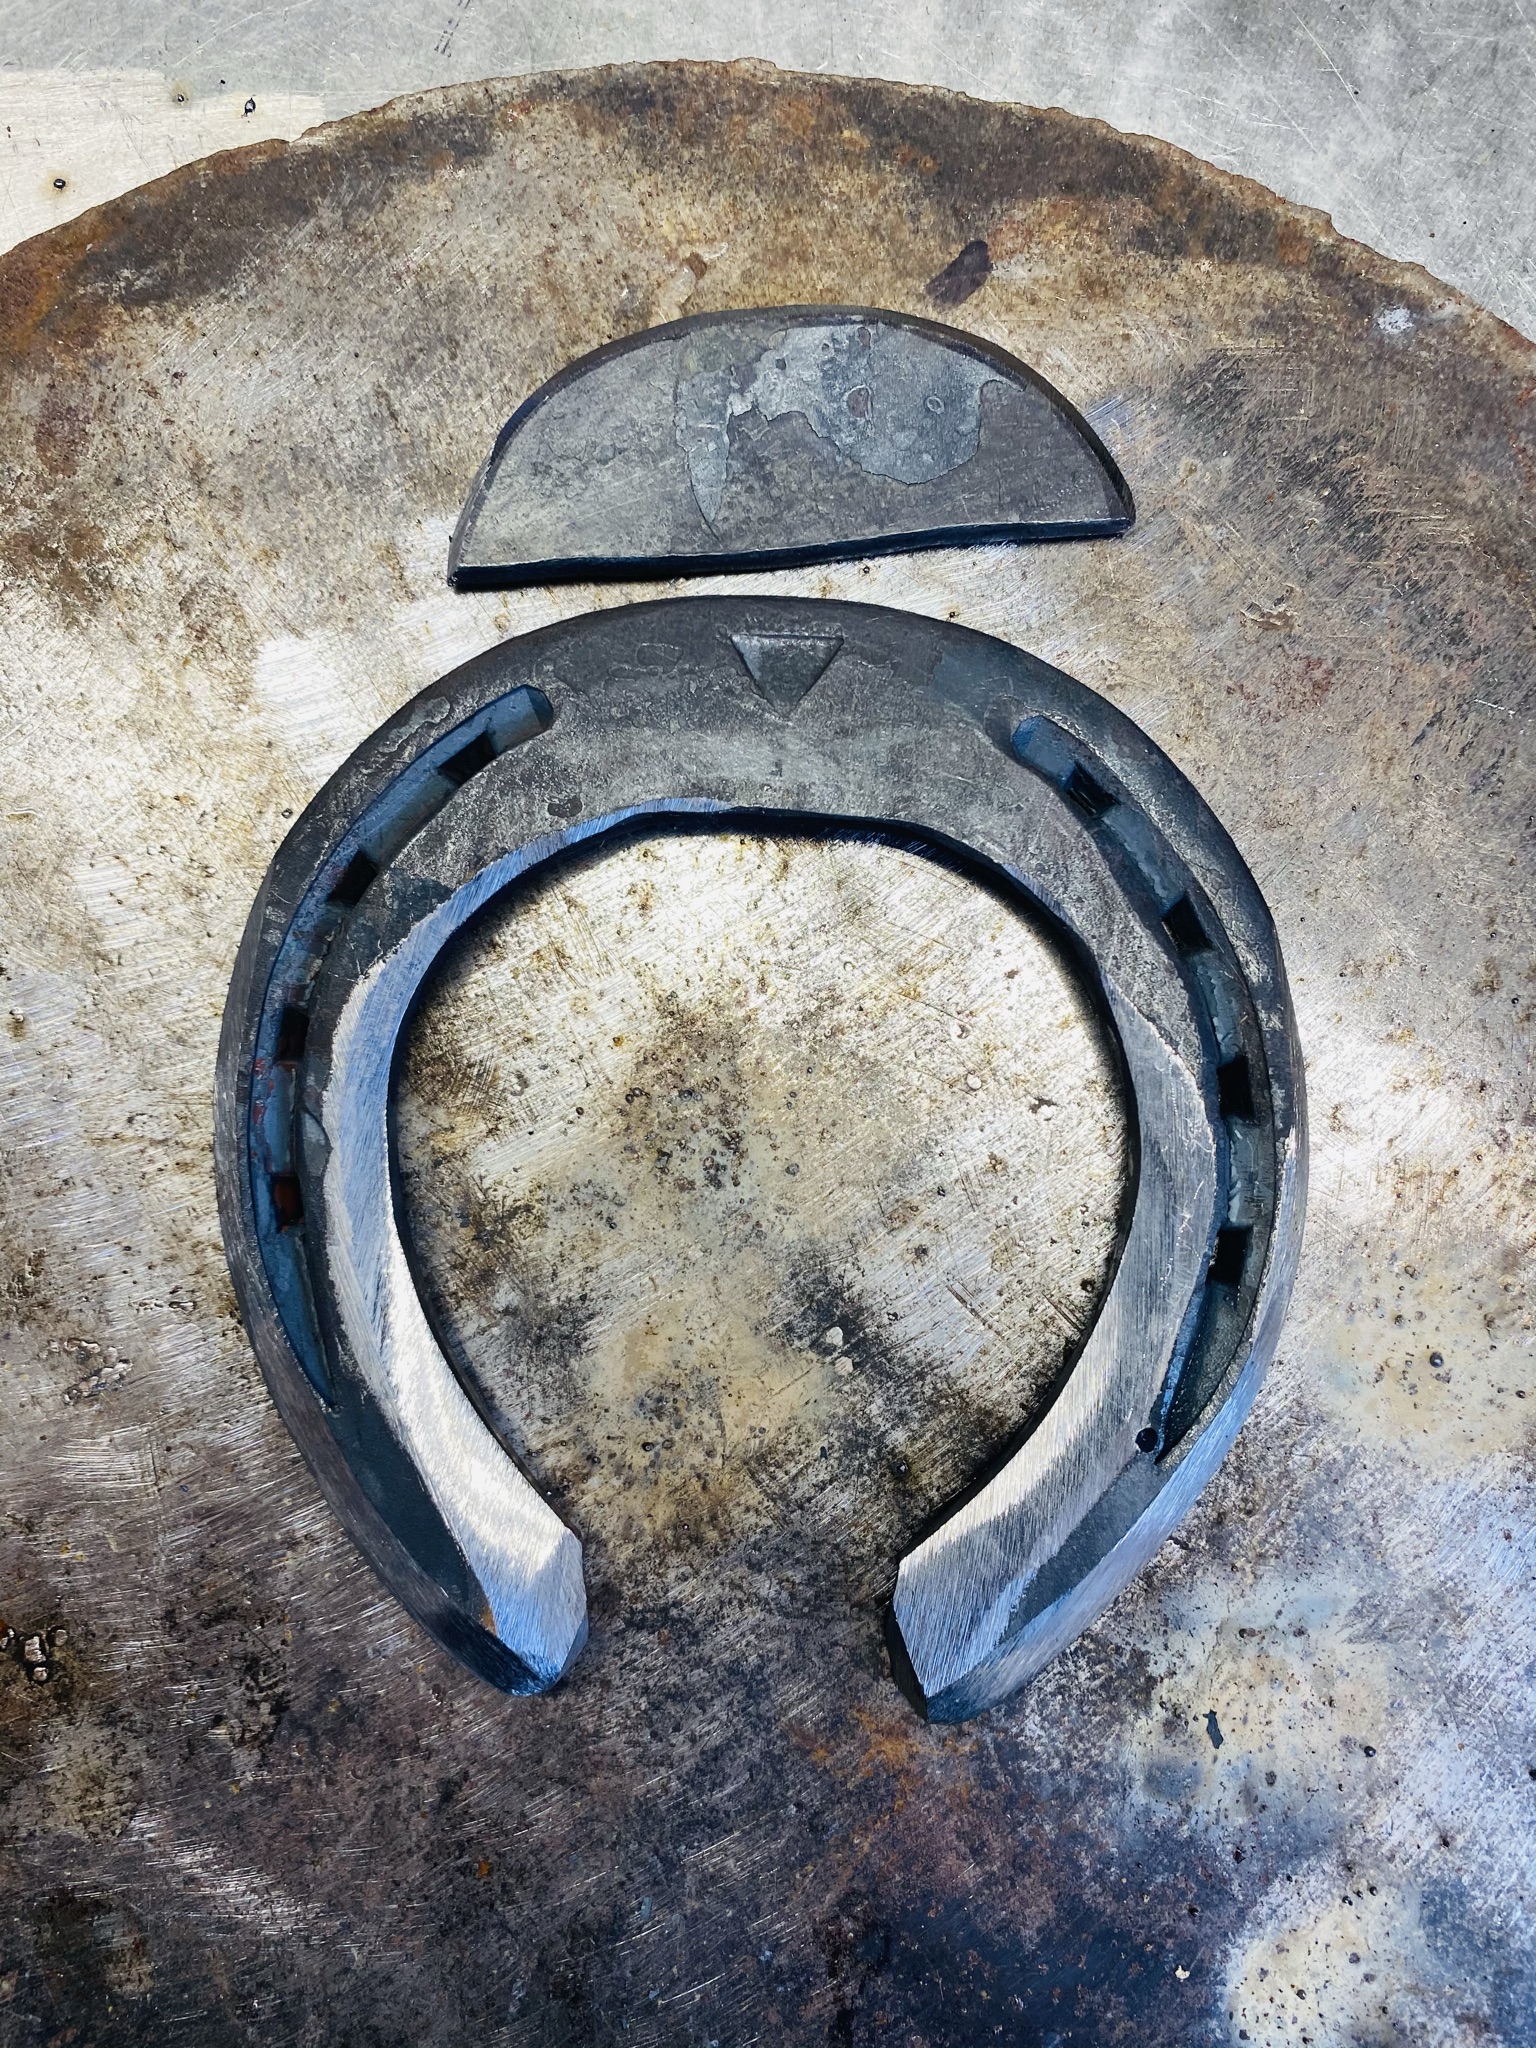
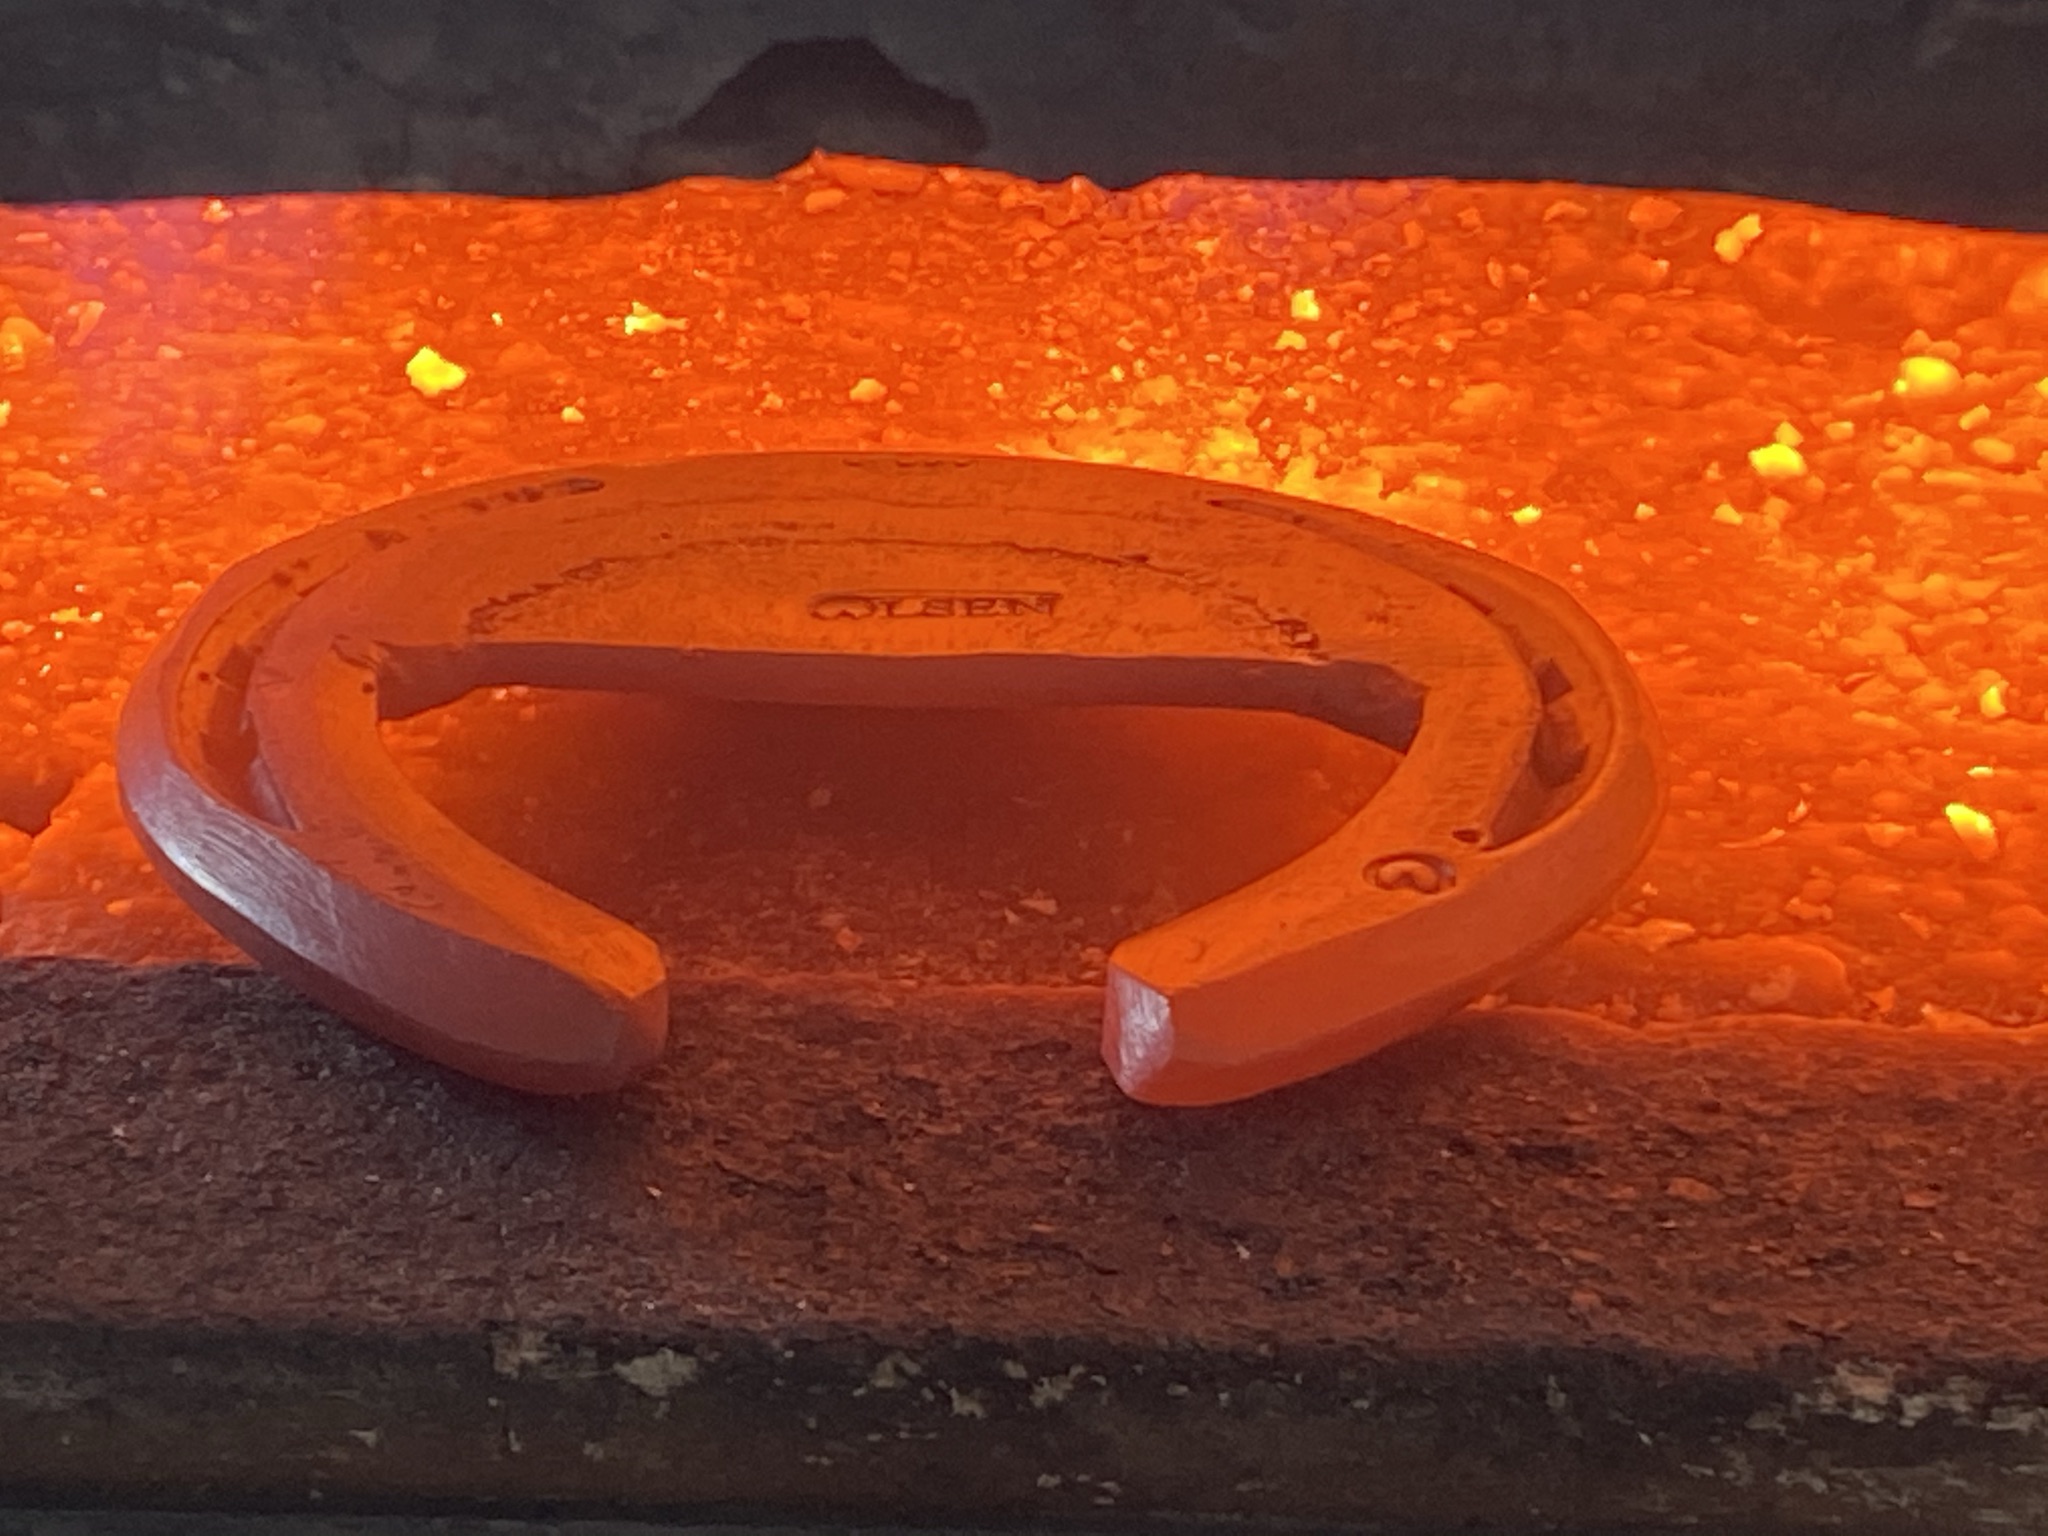
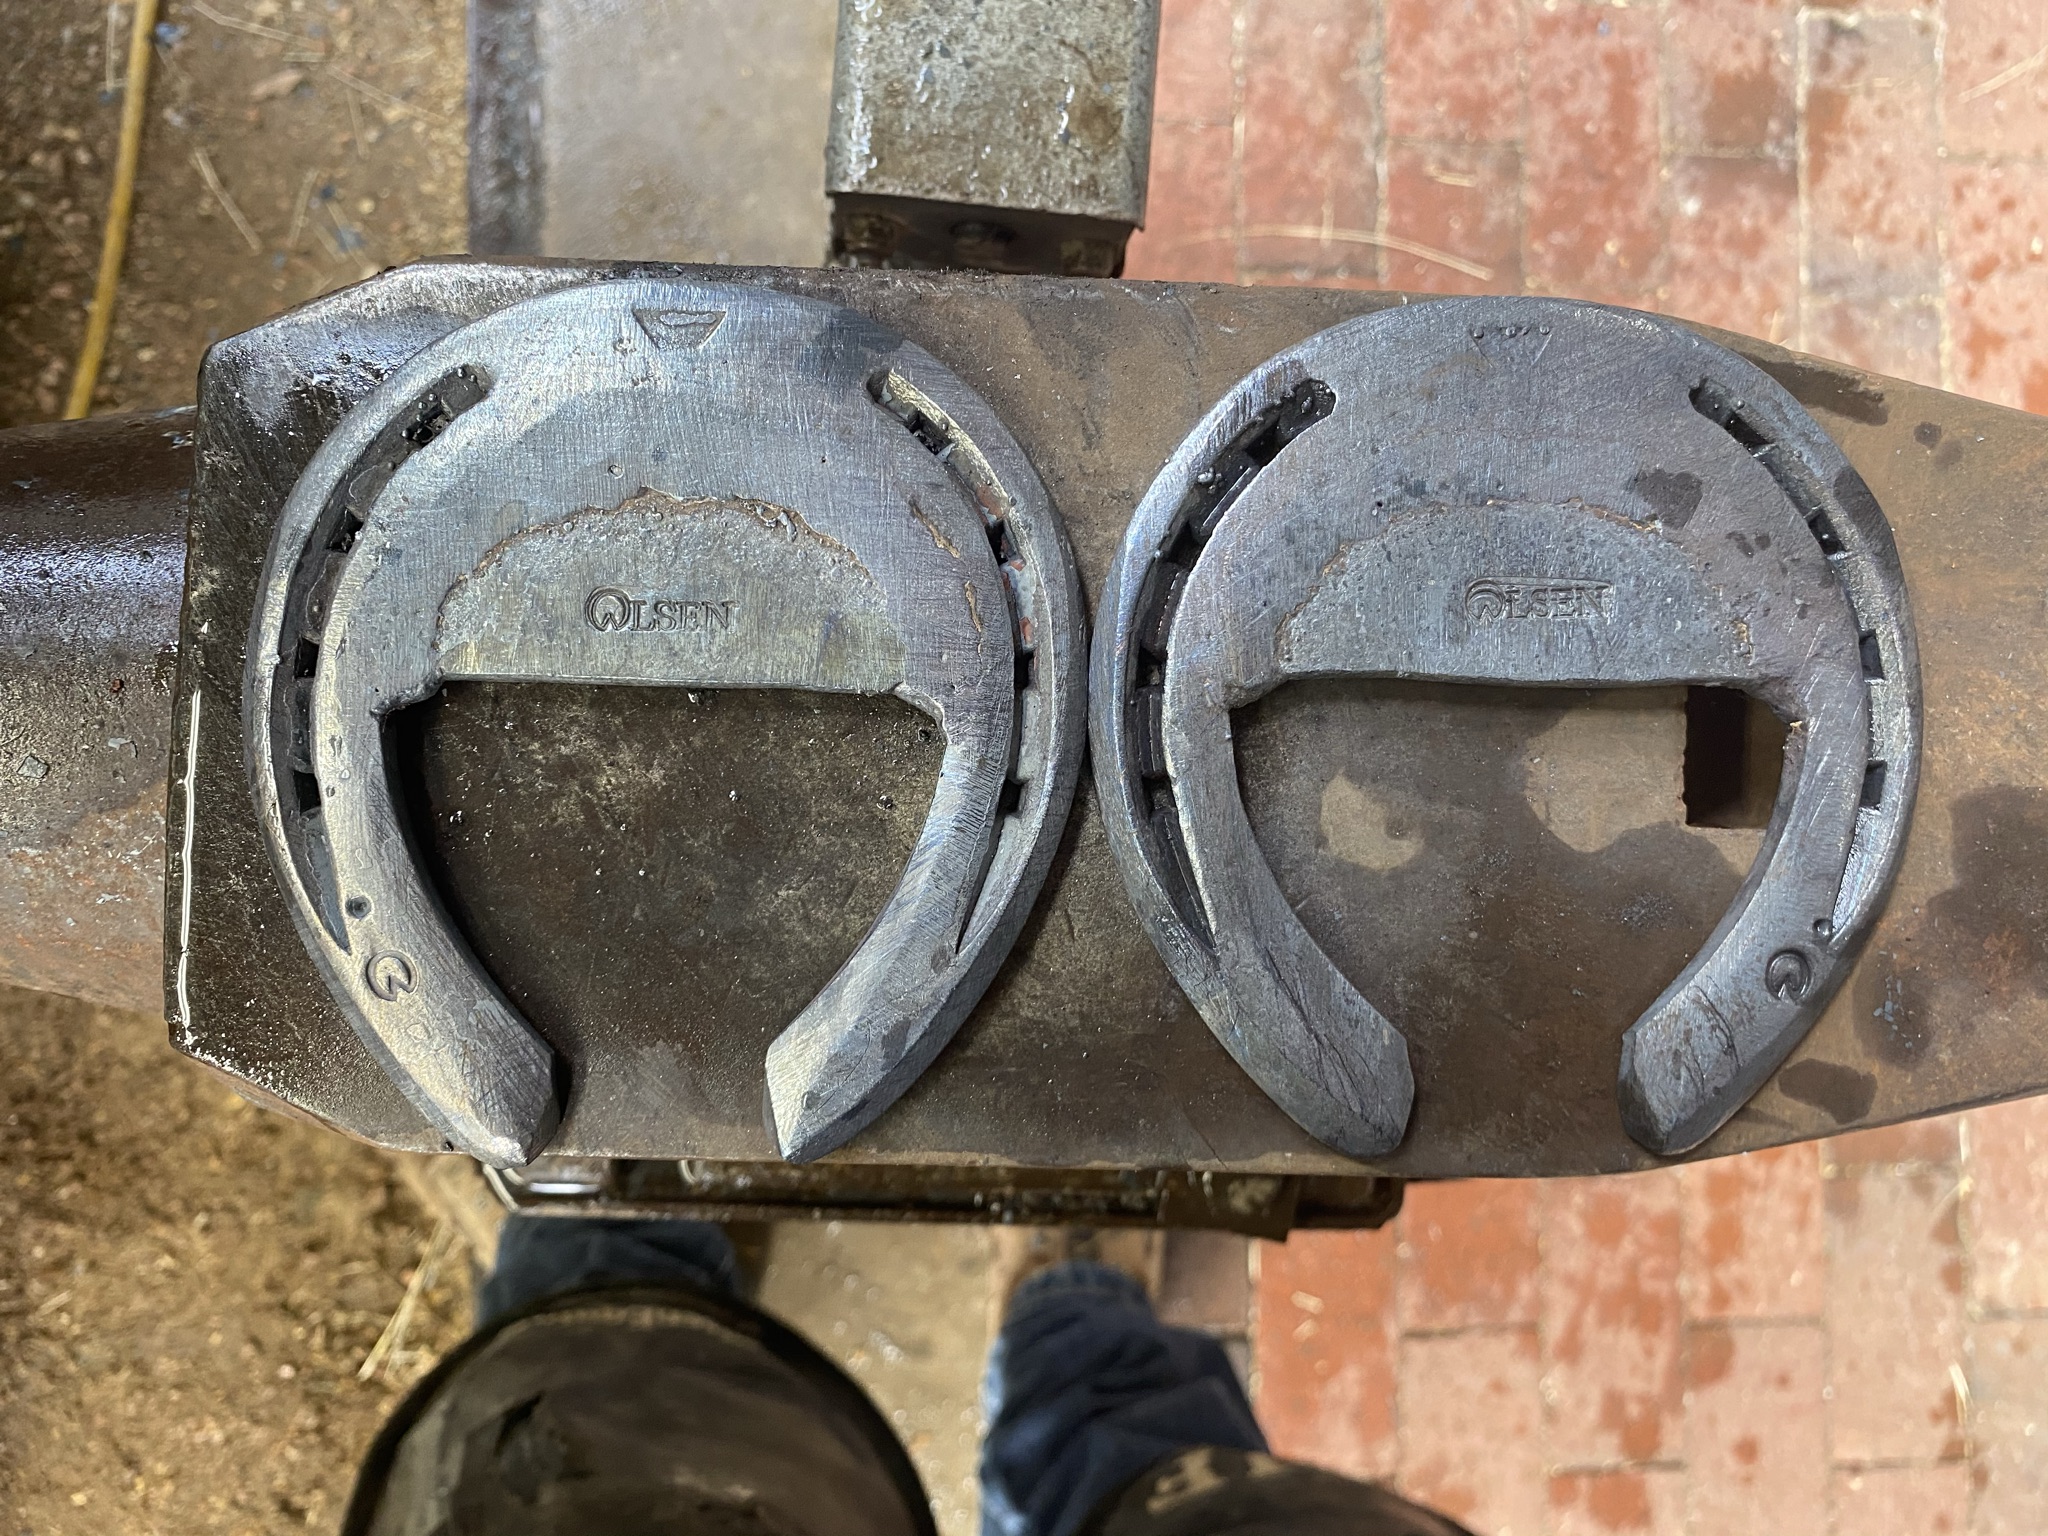
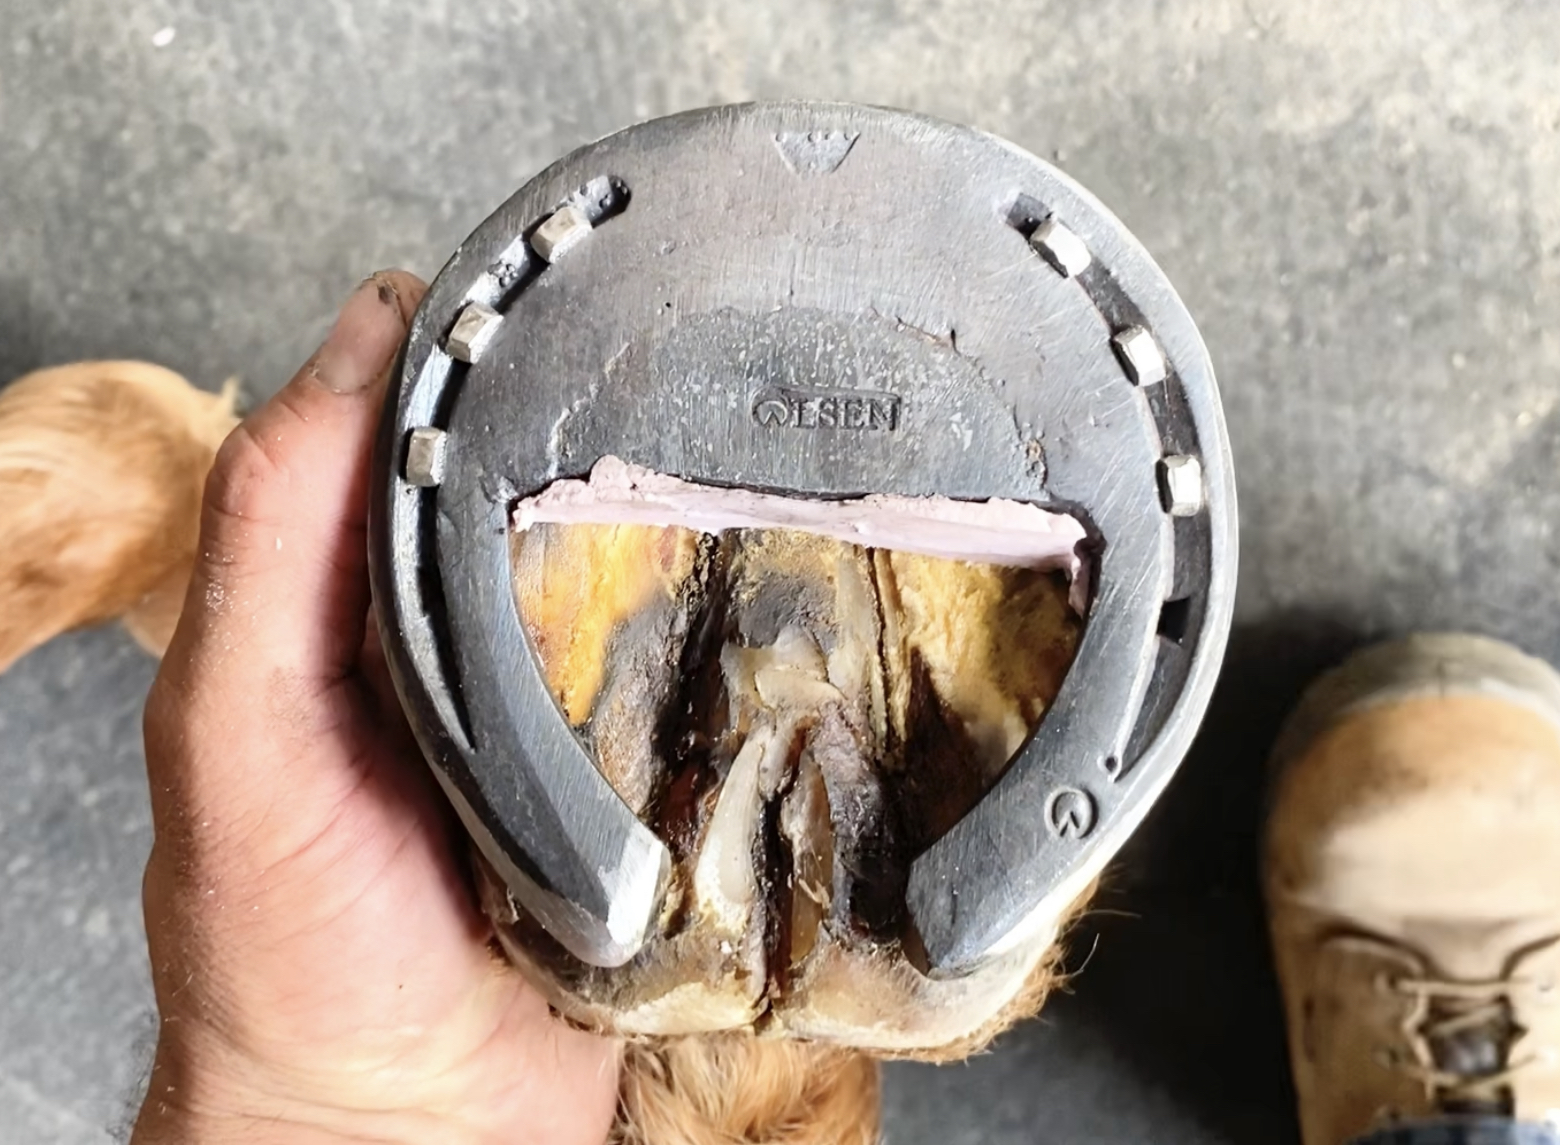
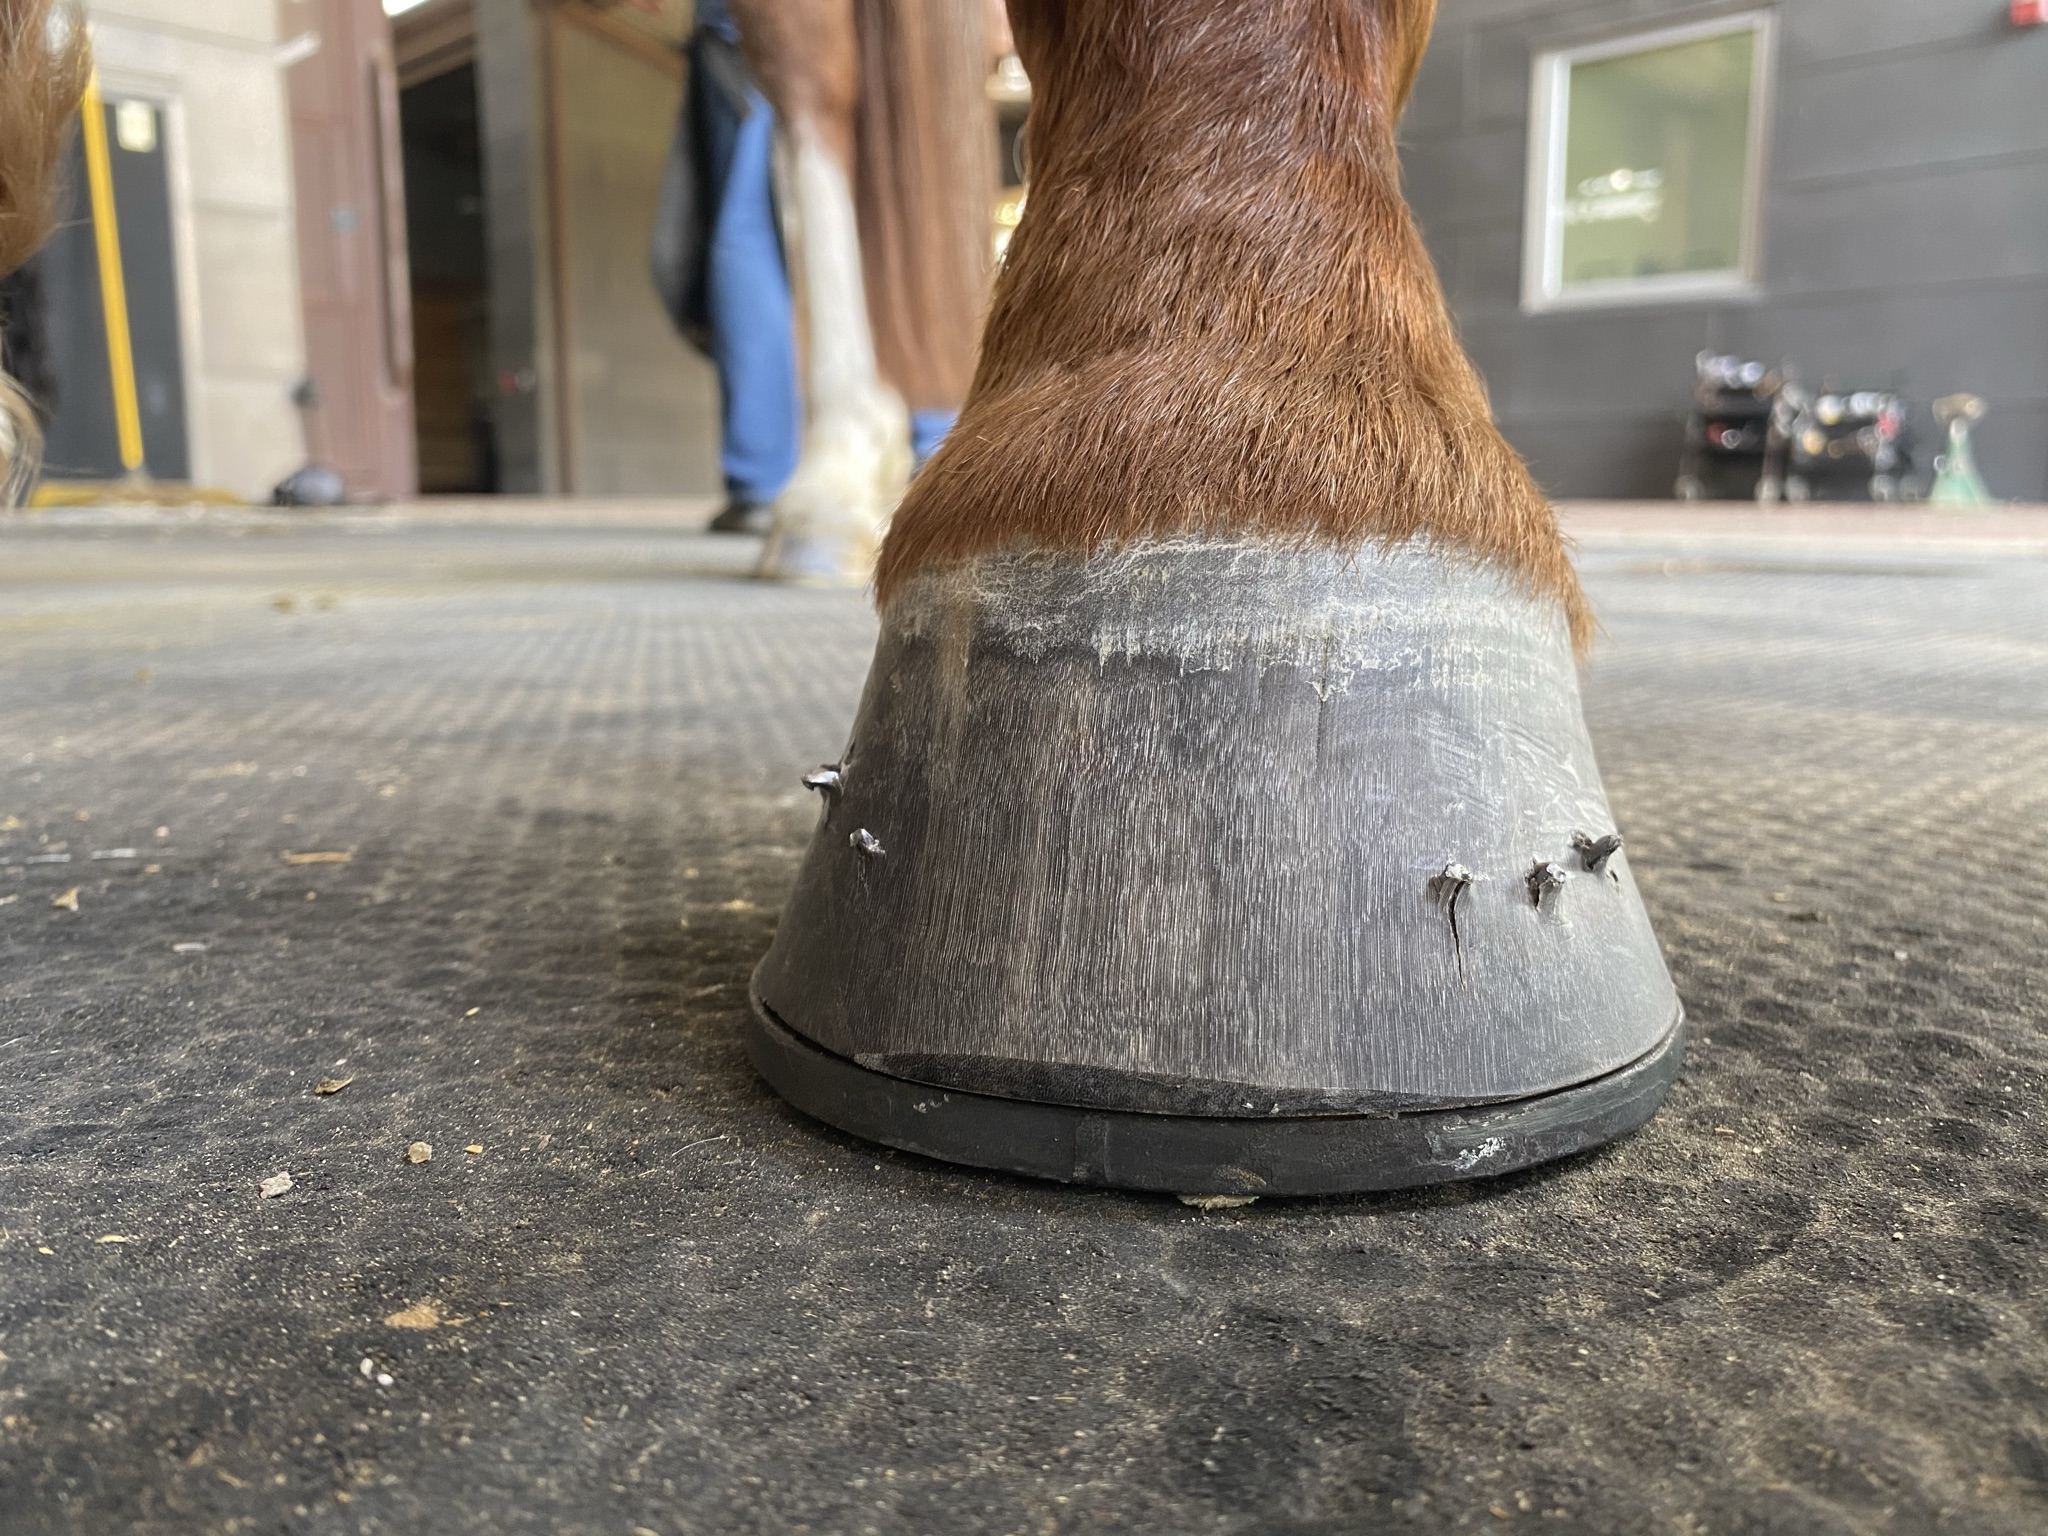
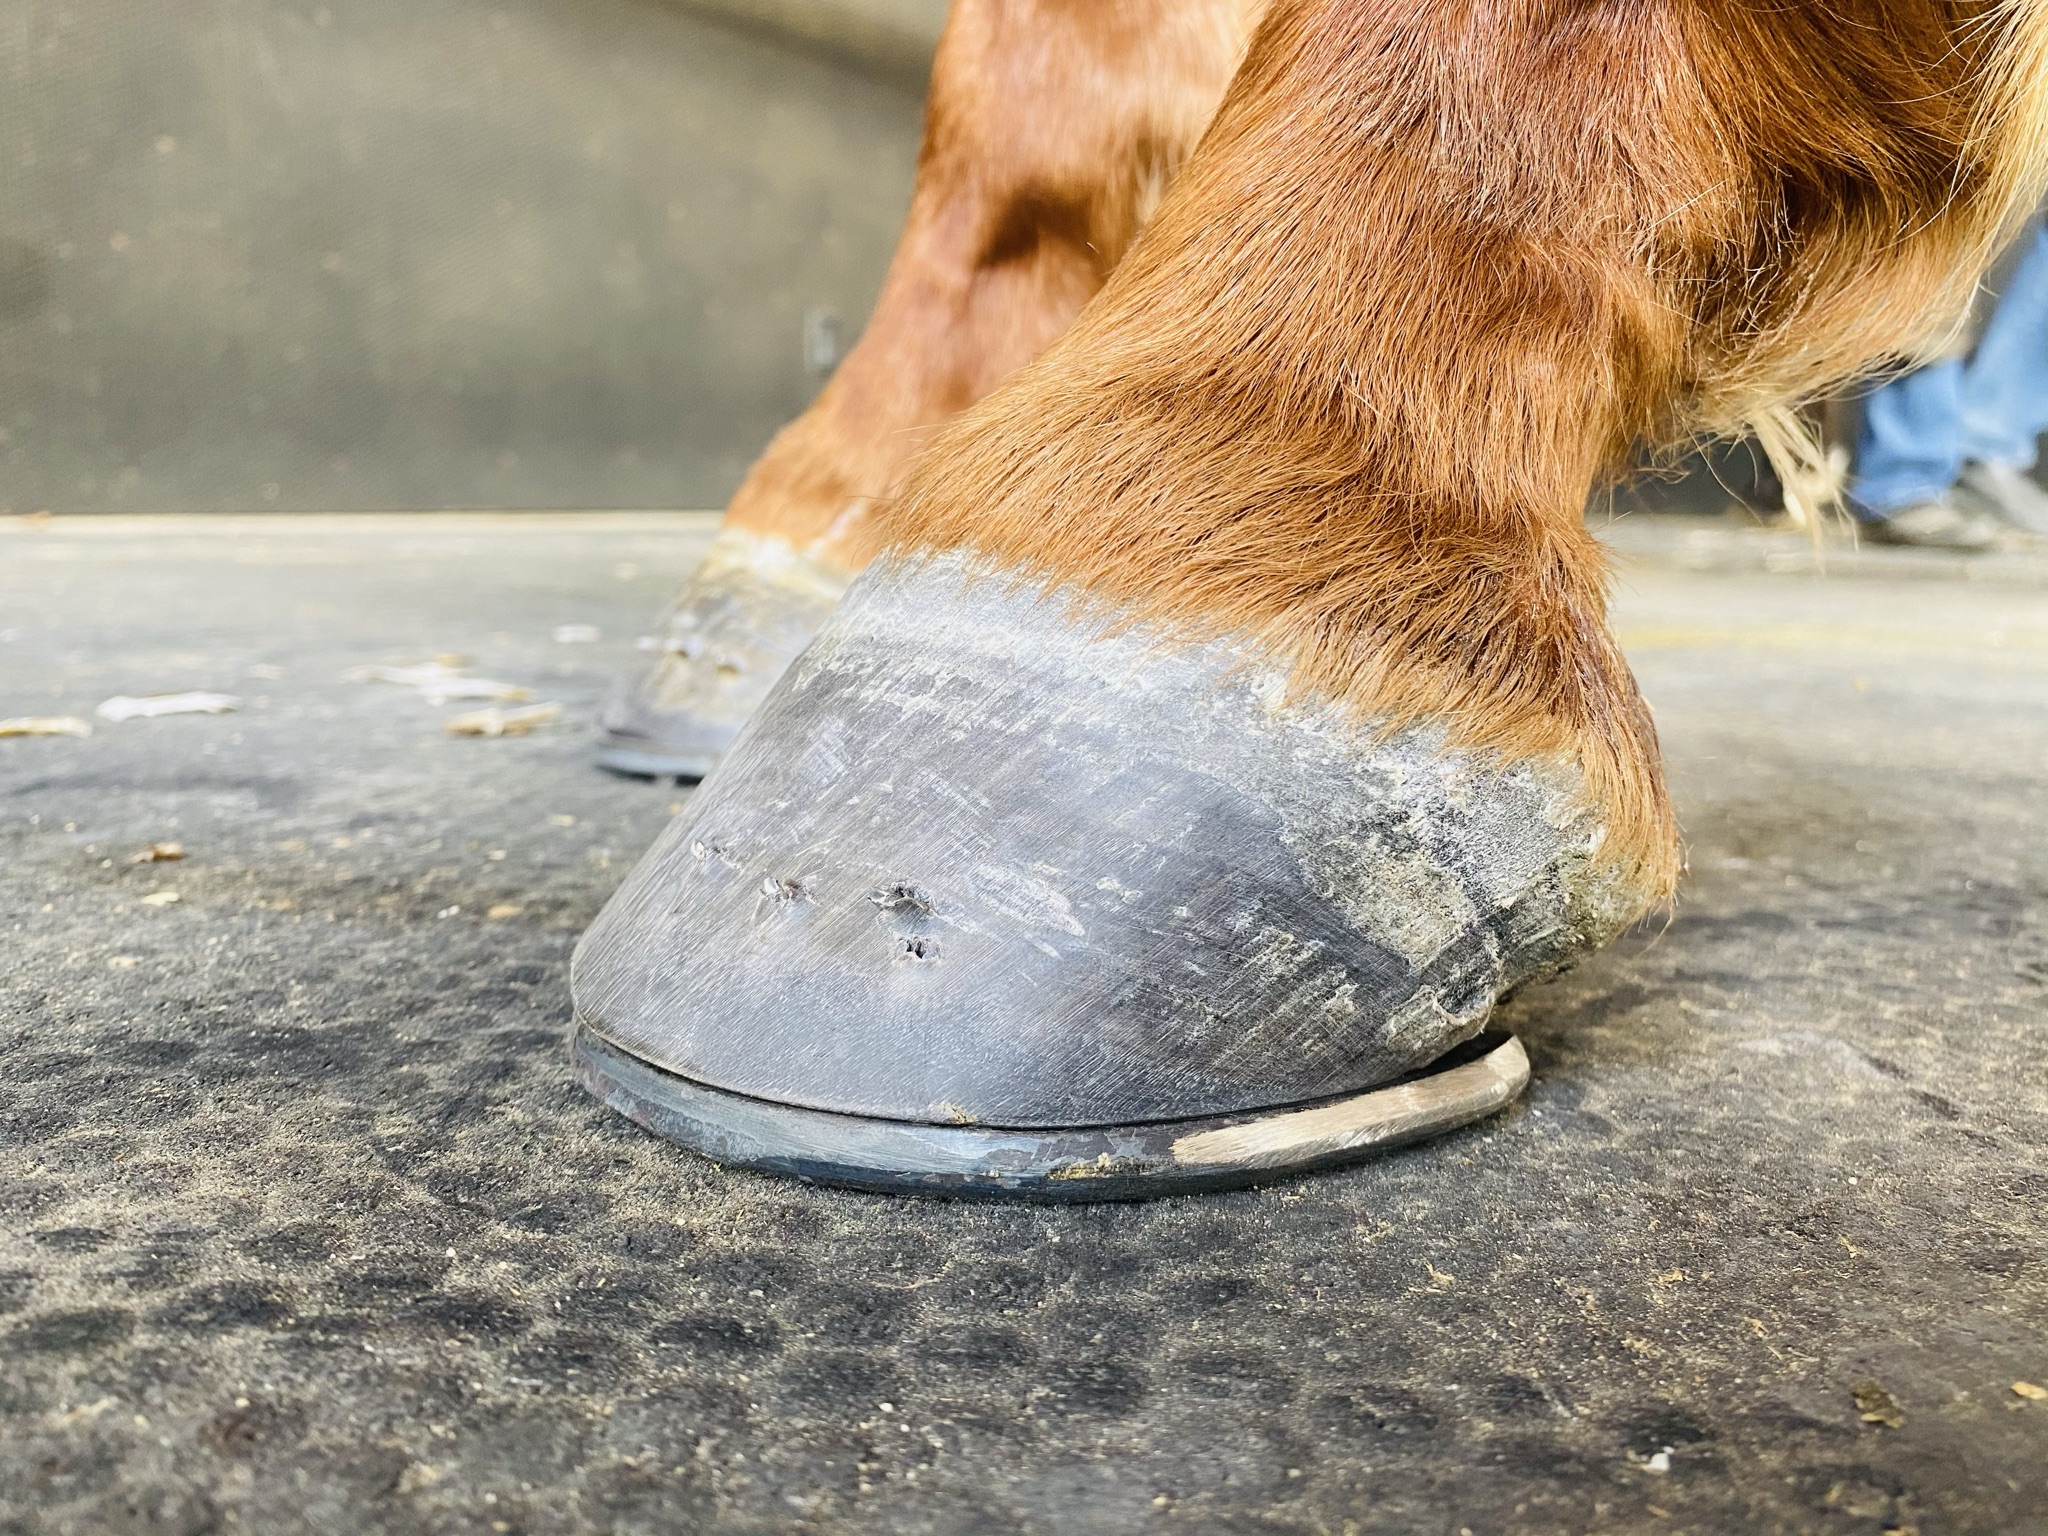
Step 1: Working with Delta Challenger TS8 00, farrier Lee Olsen, CJF from Olsen Equine, was able to seat out the toe area to gain additional width. One of the many benefits of working with Delta Challenger is the existing thickness at the toe.

Delta Challenger Suspensory Shoe Step 1

Step 2: Flatten out 3/8" x 3/4" bar stock to create a weld for the insert.Bar Stock - Suspensory Shoe

Step 3: Pencil the heels with a grinder; to allow the heels to sink in the ground easier. Just doing steps 1 and 3 would really help a suspensory without the weld insert.Delta Challenger Suspensory Shoe Step 3

Step 4: mark the insert with a marker for a custom fit at the toe to simplify the welding into the shoe.Bar Stock Mark - Suspensory Shoe

Step 5: Remove the bar stock section.Bar Stock Removal - Suspensory Shoe

Step 6: Weld bar stock to the shoe using heat and welding compound, e.g., flux. Lee Olsen used a wire feed welder before inserting the shoe into the forge. Delta Challenger Suspensory Shoe Step 6

The broad toe allows the suspensory to relax and heal quicker and easier by not sinking into the ground as much as it normally would.Delta Challenger Suspensory Shoe Step 7

This shoe is all about ground force reaction; the toe stays on top of the ground while the heels sink into the ground allowing the suspensory not to be stressed or overworked, resulting in better and faster healing. Delta Challenger Suspensory Shoe Step 8Delta Challenger Suspensory Shoe Step 9Delta Challenger Suspensory Shoe Step 10

Please note:

You're about to leave this website.

Yes, take me to